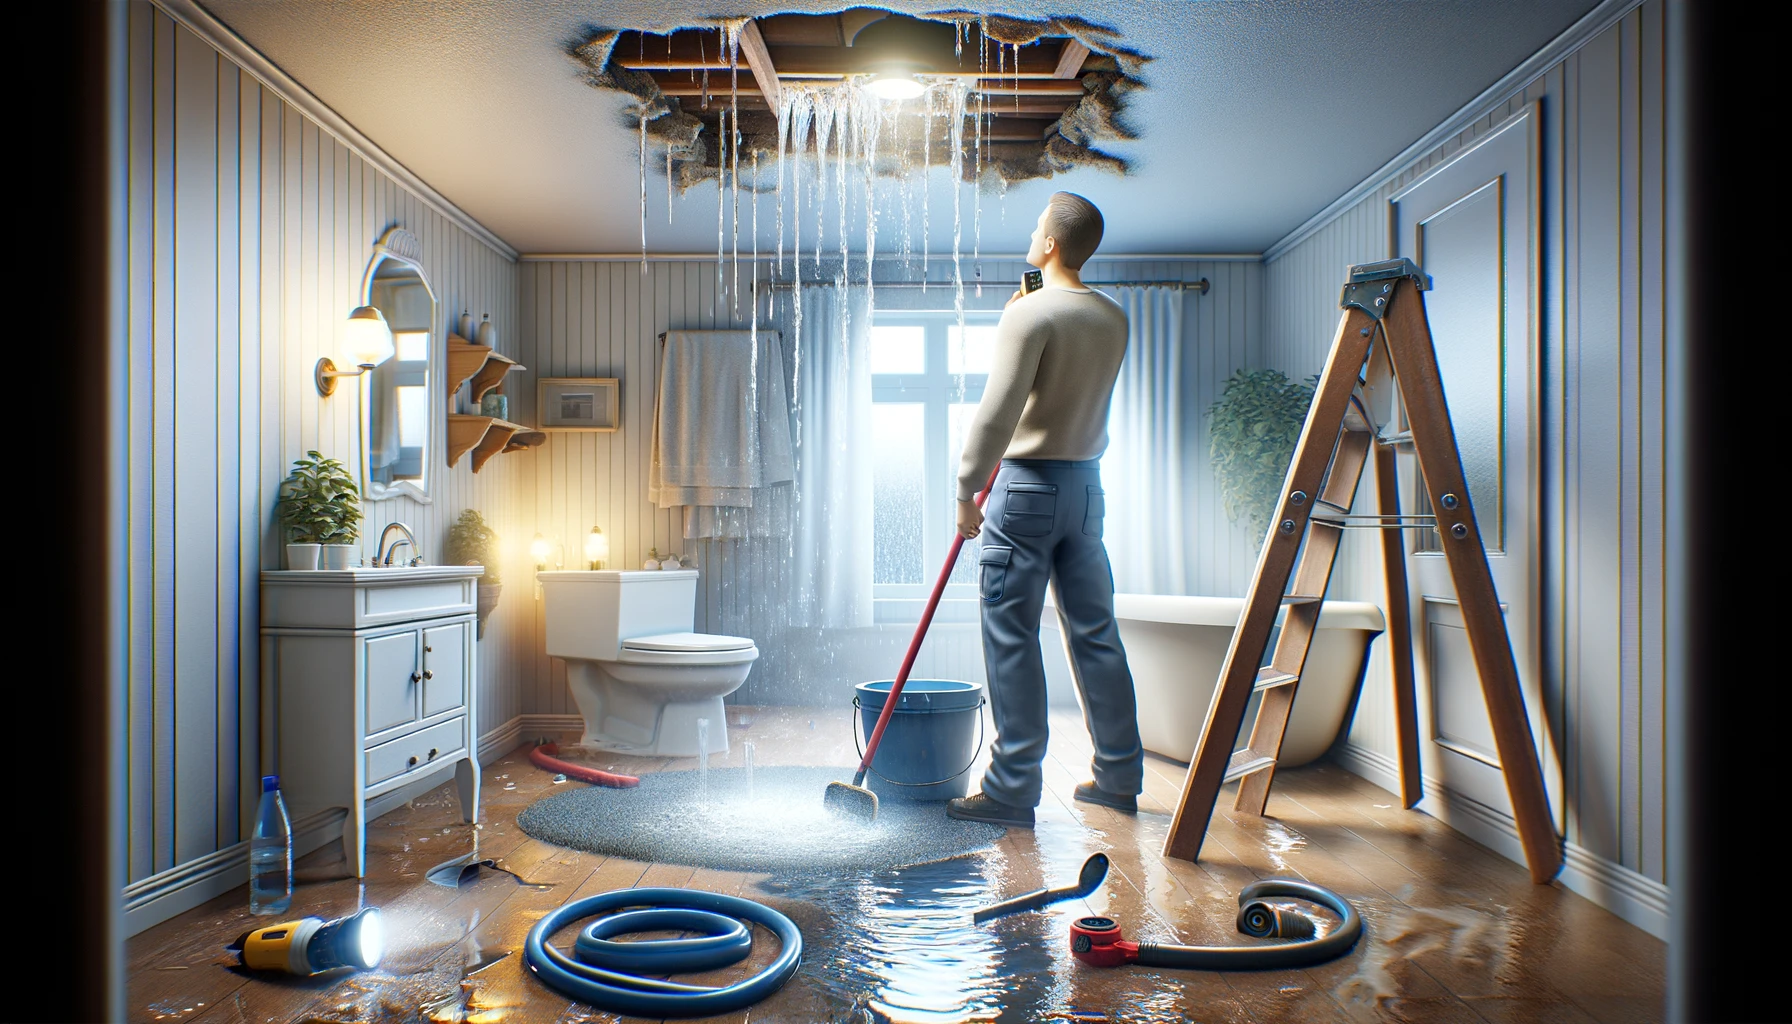
Water leaking from the ceiling under bathroom is a common yet serious issue that homeowners often face. Various factors, including plumbing problems, cracked tiles, and faulty seals around fixtures can cause this type of leak. If not addressed promptly, a bathroom ceiling leak can lead to significant structural damage, mold growth, and costly repairs. In this blog, we will explore how to identify, assess, and repair water leaks from the ceiling under a bathroom, ensuring your home remains safe and sound. For professional assistance, Alpha Construction offers expert services to efficiently diagnose and fix bathroom ceiling leaks.
How to fix water leaking from the ceiling under bathroom
1- Identifying the Source (bathroom ceiling leaking):
Locating the source of the water leak is crucial to effectively addressing the problem. Here are steps to help you identify where the water is coming from:
- Inspect Plumbing Fixtures: Check around the bathtub, shower, sink, and toilet for any signs of leaks. Look for pooling water, dampness, or dripping.
- Examine Grout and Tiles: Cracked or missing grout and damaged tiles can allow water to seep through and cause leaks. Inspect the shower walls and floor for any visible cracks or gaps.
- Check Seals and Caulking: Faulty seals around the bathtub, shower, or sink can also lead to water leakage. Look for worn or deteriorated caulking and replace it if necessary.
- Look for Pipe Issues: Access the plumbing beneath the bathroom if possible. Look for signs of corrosion, loose connections, or damaged pipes that could be causing the leak.
By systematically inspecting these areas, you can identify the source of the leak and take appropriate action. For a thorough inspection and professional repair, Alpha Construction specializes in diagnosing and resolving bathroom ceiling leaks, ensuring comprehensive and lasting solutions.
2- Assessing the Damage:
Evaluating the extent of the damage is essential to determine the necessary repairs. Here are the steps to properly assess the damage to your ceiling and bathroom:
- Visual Inspection: Start by examining the ceiling for visible signs of water damage, such as water stains, discoloration, or bubbling paint. Pay close attention to any areas directly under the bathroom.
- Check for Sagging Ceilings: If the ceiling appears to be sagging or bulging, this indicates that water has been accumulating for some time and has caused significant damage to the ceiling structure.
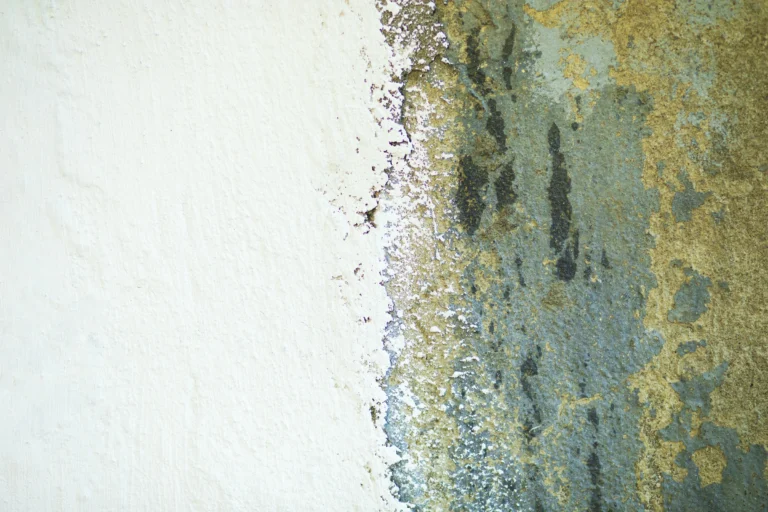
- Look for Mold Growth: Inspect both the ceiling and the bathroom for any signs of mold or mildew, which can appear as black, green, or brown spots. Mold growth indicates prolonged exposure to moisture and poses health risks.
- Inspect the Bathroom Floor: Check the bathroom floor for any signs of water damage, such as loose tiles, warped flooring, or water pooling. This can help identify if the leak is coming from the bathroom itself.
Accurately assessing the damage helps in planning the appropriate repair strategy. For a comprehensive evaluation and professional repair services, Alpha Construction offers expert assessments to determine the full extent of water damage and provide the best solutions to restore your home.
3- Preparing for Repair:
Proper preparation is crucial for safely and effectively repairing water damage. Follow these steps to get ready:
Gather Necessary Tools and Materials: Collect all the tools and materials you will need for the repair, such as a utility knife, drywall saw, replacement drywall or plaster, joint compound, sandpaper, paint, brushes, and protective gear. Ensure you have plumbing tools and materials if you need to fix a leak.
Turn Off the Water Supply: Locate the main water shutoff valve in your home and turn off the water supply to prevent further leakage. This step is essential to avoid additional water damage while repairs are being made.
Turn Off Electricity: Before starting any repair work, ensure your safety by turning off the electricity in the affected area. Water and electricity are a dangerous combination, and turning off the power reduces the risk of electrical shock.
By thoroughly preparing for the repair, you can work more efficiently and safely. For those who prefer professional assistance, Alpha Construction offers comprehensive repair services, ensuring that your bathroom ceiling water damage is handled with expertise and care.
4- Fixing the Plumbing Issue:
Addressing the plumbing issue is crucial to stop the water leak and prevent further damage. Here are the steps to repair or replace leaking pipes, fittings, or fixtures:
Identify the Leak: Determine the exact location of the leak. This might involve inspecting visible pipes or using tools to detect hidden leaks within walls or under the bathroom floor.
Repair or Replace Damaged Pipes:
- For Minor Leaks: Use pipe repair clamps, pipe tape, or epoxy putty to temporarily seal small leaks. These solutions can provide a quick fix until a more permanent repair can be made.
- For Major Leaks: Cut out the damaged section of the pipe using a pipe cutter. Measure and cut a replacement piece of pipe, and secure it with appropriate fittings such as couplings, elbows, or unions. Ensure all connections are tight and secure to prevent future leaks.
Fix Leaking Fixtures: If the leak is coming from bathroom fixtures like the sink, toilet, or shower:
- Tighten Loose Connections: Check and tighten any loose connections on the fixture.
- Replace Worn Seals and Washers: Inspect the seals and washers inside the fixtures. Replace any that are worn or damaged.
- Re-caulk Seams: Apply fresh caulk around the base of the toilet, sink, or tub to prevent water from seeping into gaps.
Test the Repair: Once the repair is complete, turn the water supply back on and check for any leaks. Ensure that all connections are watertight and that there are no signs of dripping or moisture.
Ensuring a secure and leak-free plumbing system is essential for preventing future water damage. For professional and reliable plumbing repairs, Alpha Construction provides expert services to address and resolve any plumbing issues, ensuring your home remains safe and dry.
5- Repairing the Ceiling:
Once the plumbing issue is resolved, it’s time to repair the water-damaged ceiling. Here are the methods to dry, patch, and repaint the damaged area, as well as techniques for replacing severely damaged sections:
Drying the Ceiling:
- Use high-powered fans and dehumidifiers to thoroughly dry the affected area. Ensure that the ceiling is completely dry before proceeding with repairs to prevent mold growth.
- Open windows and doors to improve ventilation and expedite the drying process.
Patching Minor Damage:
- Clean the Area: Remove any loose or damaged material from the ceiling. Wipe down the area with a mild detergent solution to eliminate any dirt or mold spores.
- Apply Joint Compound: Use a putty knife to apply joint compound over small cracks or holes. Smooth it out to be level with the surrounding ceiling.
- Sand and Smooth: Once the compound is dry, sand the area with fine-grit sandpaper to create a smooth surface.
- Prime and Paint: Apply a primer to the patched area, and once it’s dry, repaint the ceiling to match the existing color.
Replacing Severely Damaged Sections:
- Cut Out Damaged Drywall: Use a drywall saw to carefully cut out the severely damaged section of the ceiling. Be sure to cut along the studs to create a stable surface for attaching new drywall.
- Measure and Cut Replacement Drywall: Measure the hole and cut a piece of new drywall to fit. Ensure it matches the thickness of the existing ceiling.
- Install the New Drywall: Secure the new piece of drywall into place with drywall screws or nails, making sure it is flush with the surrounding ceiling.
- Tape and Mud the Seams: Apply drywall tape over the seams and cover with joint compound. Smooth the compound and feather the edges to blend with the surrounding surface. Apply additional coats as needed, sanding between each coat for a smooth finish.
- Prime and Paint: Once the joint compound is completely dry and smooth, prime the repaired area. After the primer dries, paint the ceiling to match the existing color, applying multiple coats if necessary for even coverage.
Repairing the ceiling ensures that your home looks as good as new and is protected from further damage. For professional and high-quality ceiling repairs, Alpha Construction offers expert services to restore your ceiling to its original condition, ensuring a seamless and durable finish.
6- Preventing Future Leaks:
Taking steps to prevent future bathroom ceiling leaks is crucial to maintaining the integrity of your home. Here are some tips to help you avoid similar issues in the future:
- Regular Inspections: Conduct routine inspections of your bathroom’s plumbing system, including pipes, fixtures, and seals. Look for any signs of wear and tear, such as rust, corrosion, or loose connections, and address them promptly.
- Maintain Caulking and Seals: Ensure that the caulking and seals around your bathtub, shower, and sinks are in good condition. Reapply caulk or replace seals as needed to prevent water from seeping through gaps.
- Check Grout and Tiles: Inspect the grout and tiles in your bathroom for cracks or gaps. Repair any damaged grout and replace broken tiles to prevent water from penetrating through to the ceiling below.
- Monitor Water Pressure: Keep an eye on your home’s water pressure. High water pressure can stress pipes and fixtures, increasing the risk of leaks. If necessary, install a pressure regulator to maintain safe water pressure levels.
- Install Water Sensors: Consider installing water leak sensors in your bathroom. These devices can detect leaks early and alert you to potential issues before they cause significant damage.
- Proper Ventilation: Ensure your bathroom has adequate ventilation to reduce humidity levels and prevent condensation, which can lead to water damage. Use exhaust fans and open windows to improve airflow.
By following these preventative measures, you can significantly reduce the risk of future bathroom ceiling leaks and protect your home from water damage. For comprehensive maintenance and inspection services, Alpha Construction offers expert solutions to help keep your plumbing and seals in excellent condition, ensuring the long-term safety and durability of your home.
The Role of Alpha Construction in Leak Repairs:
Alpha Construction specializes in diagnosing and repairing bathroom ceiling leaks with precision and expertise. Our team is highly skilled in identifying the root causes of leaks, whether they stem from plumbing issues, damaged tiles, or faulty seals. We use advanced tools and techniques to ensure accurate detection and effective repair. With a focus on professional, efficient, and high-quality service, Alpha Construction provides comprehensive solutions that not only fix the immediate problem but also prevent future leaks. Trust us to restore the integrity and safety of your home with our expert leak repair services.
Fixing bathroom ceiling leaking promptly is crucial to prevent extensive damage, mold growth, and costly repairs. By taking immediate action, you can maintain the structural integrity and aesthetic appeal of your home. For expert assistance, contact Alpha Construction. Our experienced team offers comprehensive, reliable, and high-quality fixing of water leaking from the ceiling under bathroom to ensure your home remains safe and dry. Don’t let a small leak turn into a big problem – reach out to Alpha Construction today for professional leak repair solutions.
Water Damage Restoration “Rapid, Reliable Solutions for Water Damage Emergencies” Water Damage restoration Water damage can strike when you least expect …
Mold Remediation Service “Effective Solutions for Mold Challenges” Mold Remediation Mold infestations can be more than just an unsightly issue; they …
Storm/Disaster Recovery “Rapid Response for Weather-Related Emergencies” Storm/Disaster Recovery When storms or disasters strike, the aftermath can be overwhelming. Alpha Construction & …
Odor Removal Service “Eliminating Unpleasant Odors, Restoring Freshness” Odor Removal Service Unpleasant odors in your home or business can be more than …
Biohazard/Crime Scene Cleaning “Professional and Compassionate Cleanup Solutions” Biohazard/Crime Scene Cleaning Service Handling biohazard and crime scene situations requires not only technical …
Fire & Smoke Damage “Expert Care for Your Fire-Damaged Property” Smoke & Fire Damage Experiencing fire damage can be a traumatic …


